🚚 Free Worldwide Shipping on All Orders!Shop Now
150W/m² Electric Underfloor Heating Peel & Stick Mats – Under Tile UFH Mat
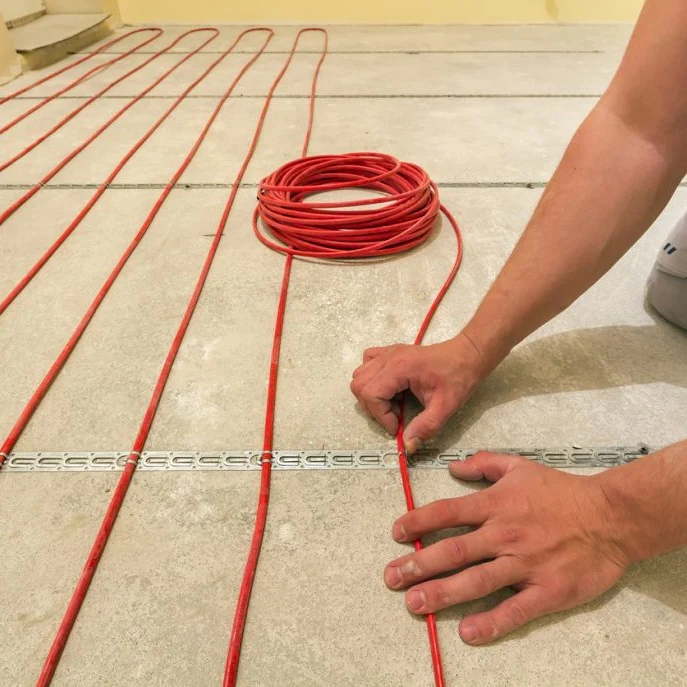
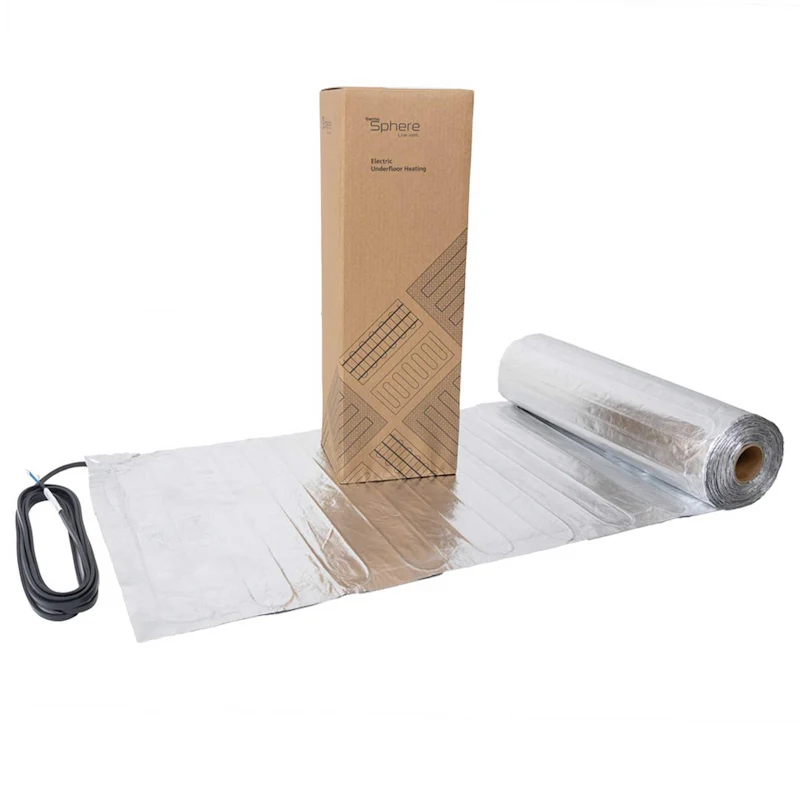
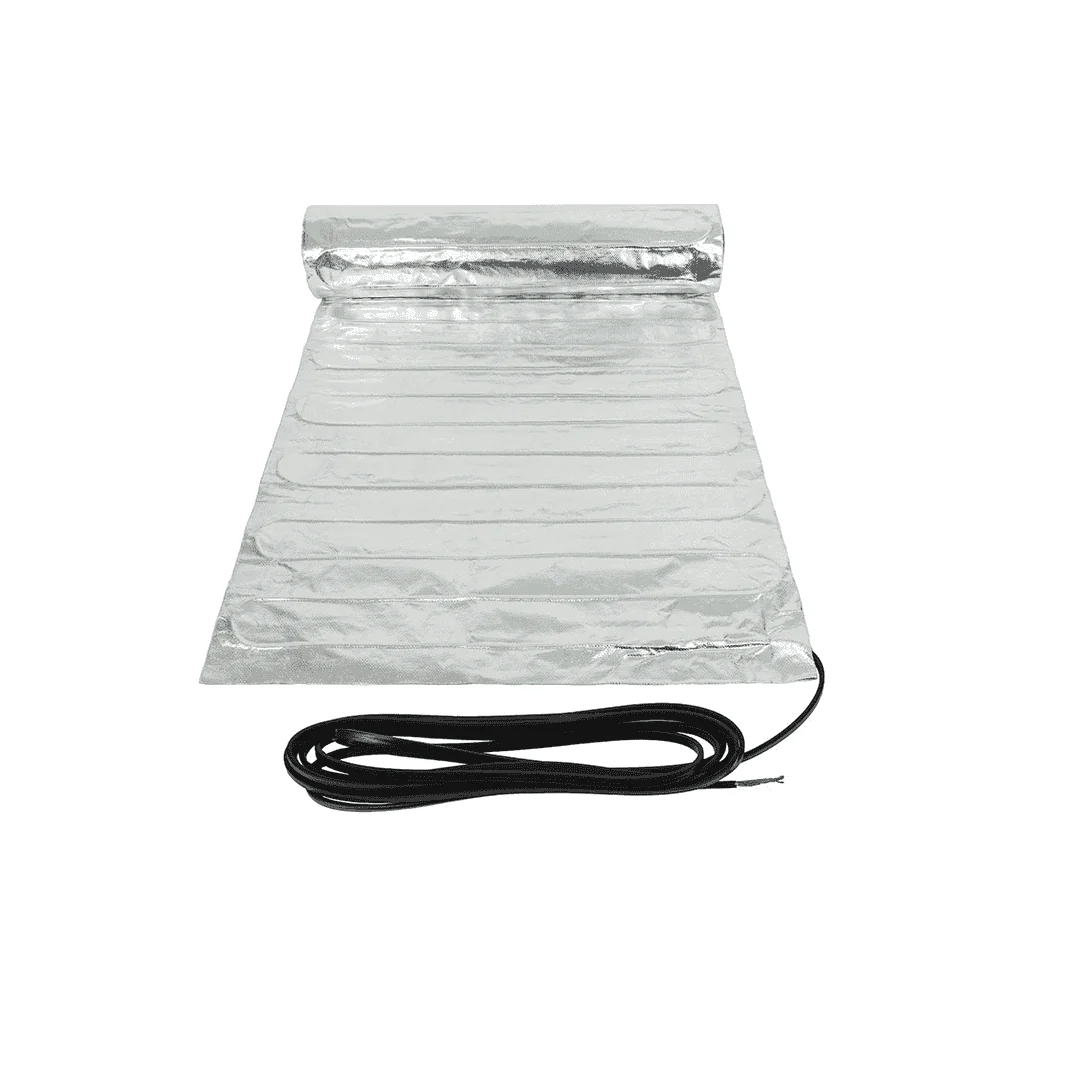
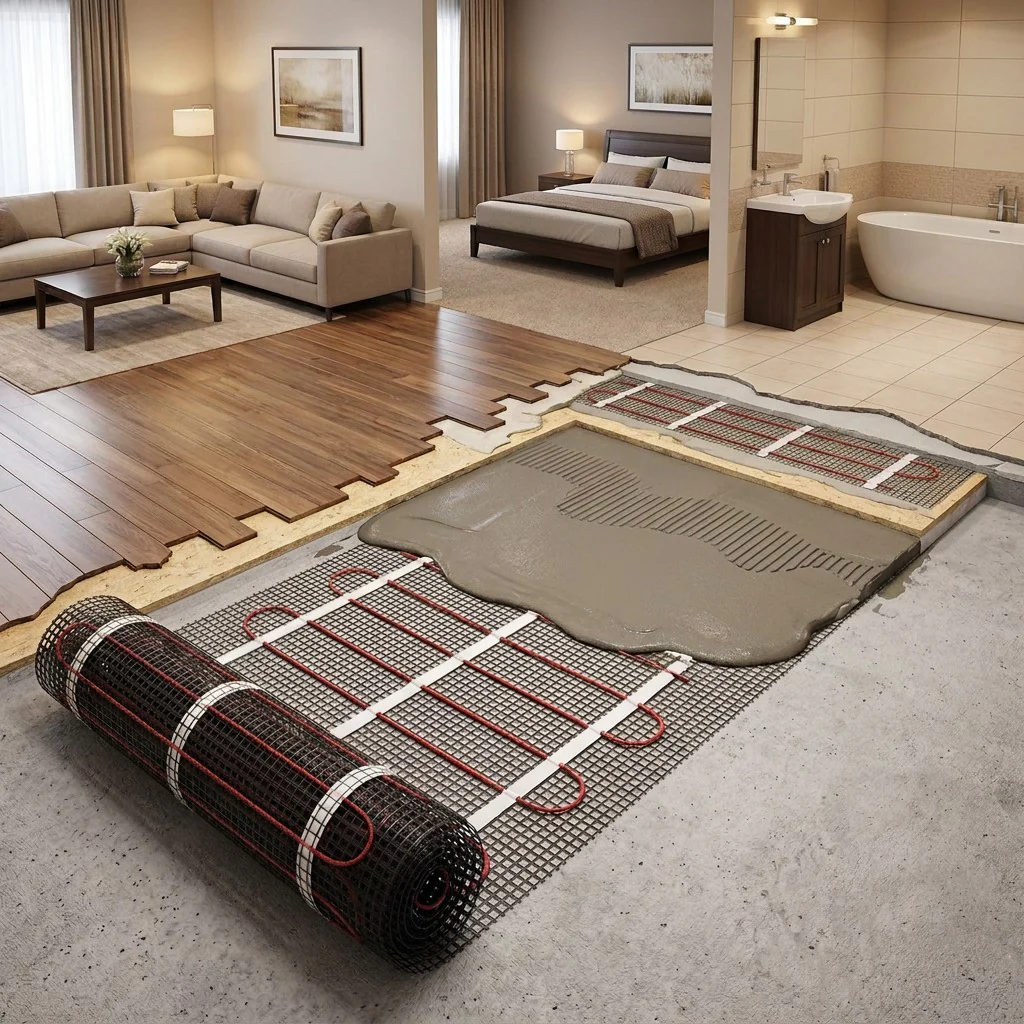
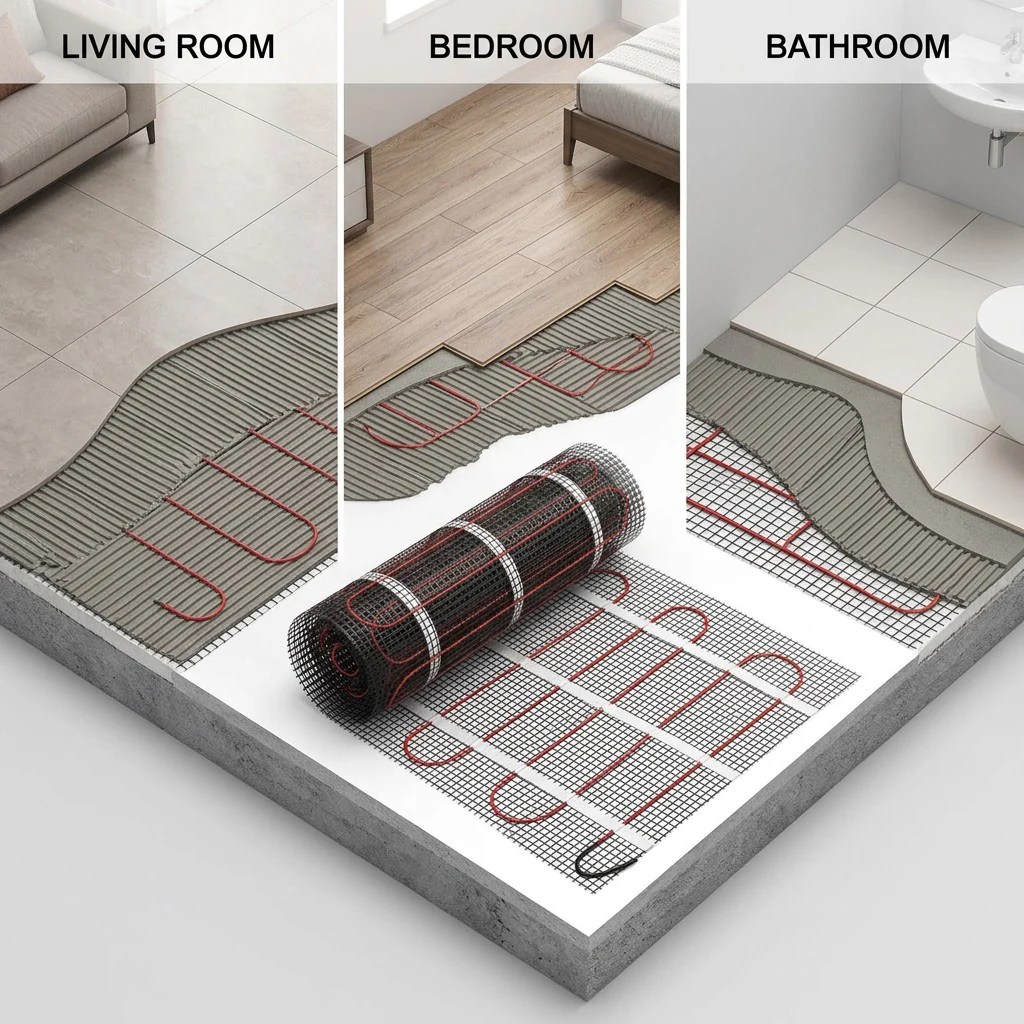
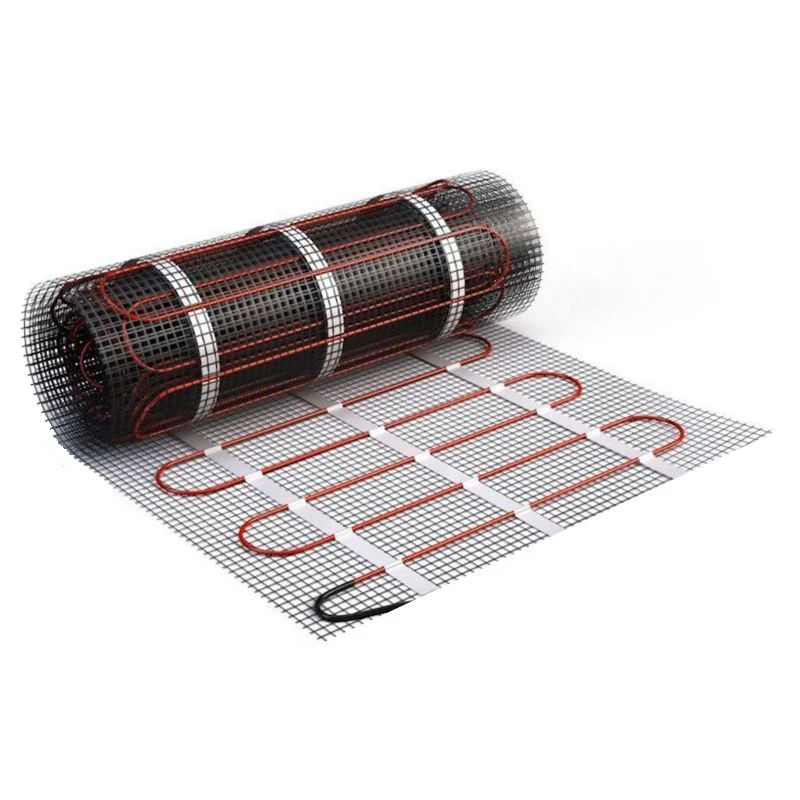
Warm your tiled or stone floor from the ground up with ThermRite™ 150W/m² Electric Underfloor Heating Mats, an under-tile system built for bathrooms, kitchens and refurbishment projects where floor build-up is tight. Each mat uses a self-adhesive mesh backing for genuine peel-and-stick fixing, a single cold-tail connection for straightforward wiring, and a continuous metallic earth screen for added protection under wet-area flooring. Certified to EN60335-2-96 and compliant with the 18th Edition Wiring Regulations, the mat delivers even heat with no cold spots beneath ceramic, stone, slate, terracotta, porcelain or marble, and is backed by a lifetime warranty.
150 W/m²
Power Output
230V
Supply Voltage
3.0–4.0mm
Cable Diameter
30mA RCD
Circuit Protection Required
Lifetime
Warranty
1.0–20.0m²
Sizes Available
🔴 Qualified Electrician & RCD Required
Installation must be wired to the mains by a qualified electrician in accordance with the 18th Edition IEE Wiring Regulations and Part P of the Building Regulations. The system must always be protected by a 30mA RCD — a dedicated RCD must be fitted if one does not already exist on the circuit.
🟡 Allow the Adhesive to Cure Before Power-On
Do not switch the heating on until a minimum of 8 days after tiling, to allow the tile adhesive or levelling compound to fully cure. Test the mat for continuity and insulation resistance before, during and after installation, and record results — the floor sensor should read 9–23 ohms depending on room temperature, with a ±5% tolerance allowed on the heating element resistance.
🟡 Larger Areas Use Multiple Mats — Parallel Wiring Only
Rooms above 10.0m² are supplied as more than one mat wired together. Mats must always be connected in parallel, never in series. The heating element itself must never be cut — only the fibreglass mesh carrier can be trimmed to turn or reposition the mat, and loose cable runs must be kept at least 50mm apart.
🟢 Floor Sensor Placement
The thermostat floor sensor must be run centrally between two heating cable runs, ideally inside a sealed sensor tube, so it reads an accurate average floor temperature. In bathrooms, mount the thermostat itself outside the wet area, as close to the heated floor as possible.
True Peel-and-Stick Fixing
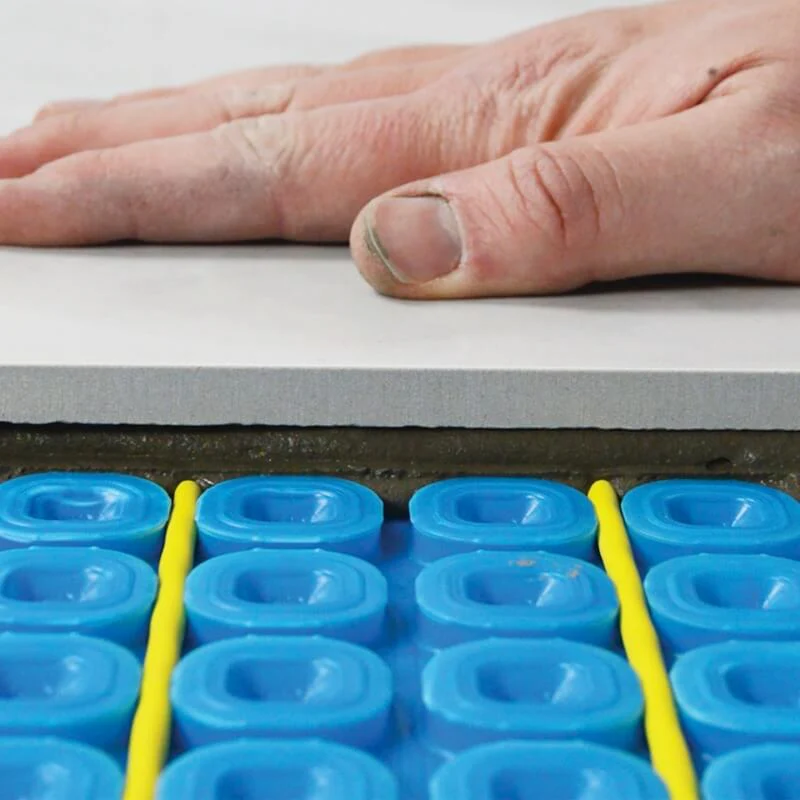
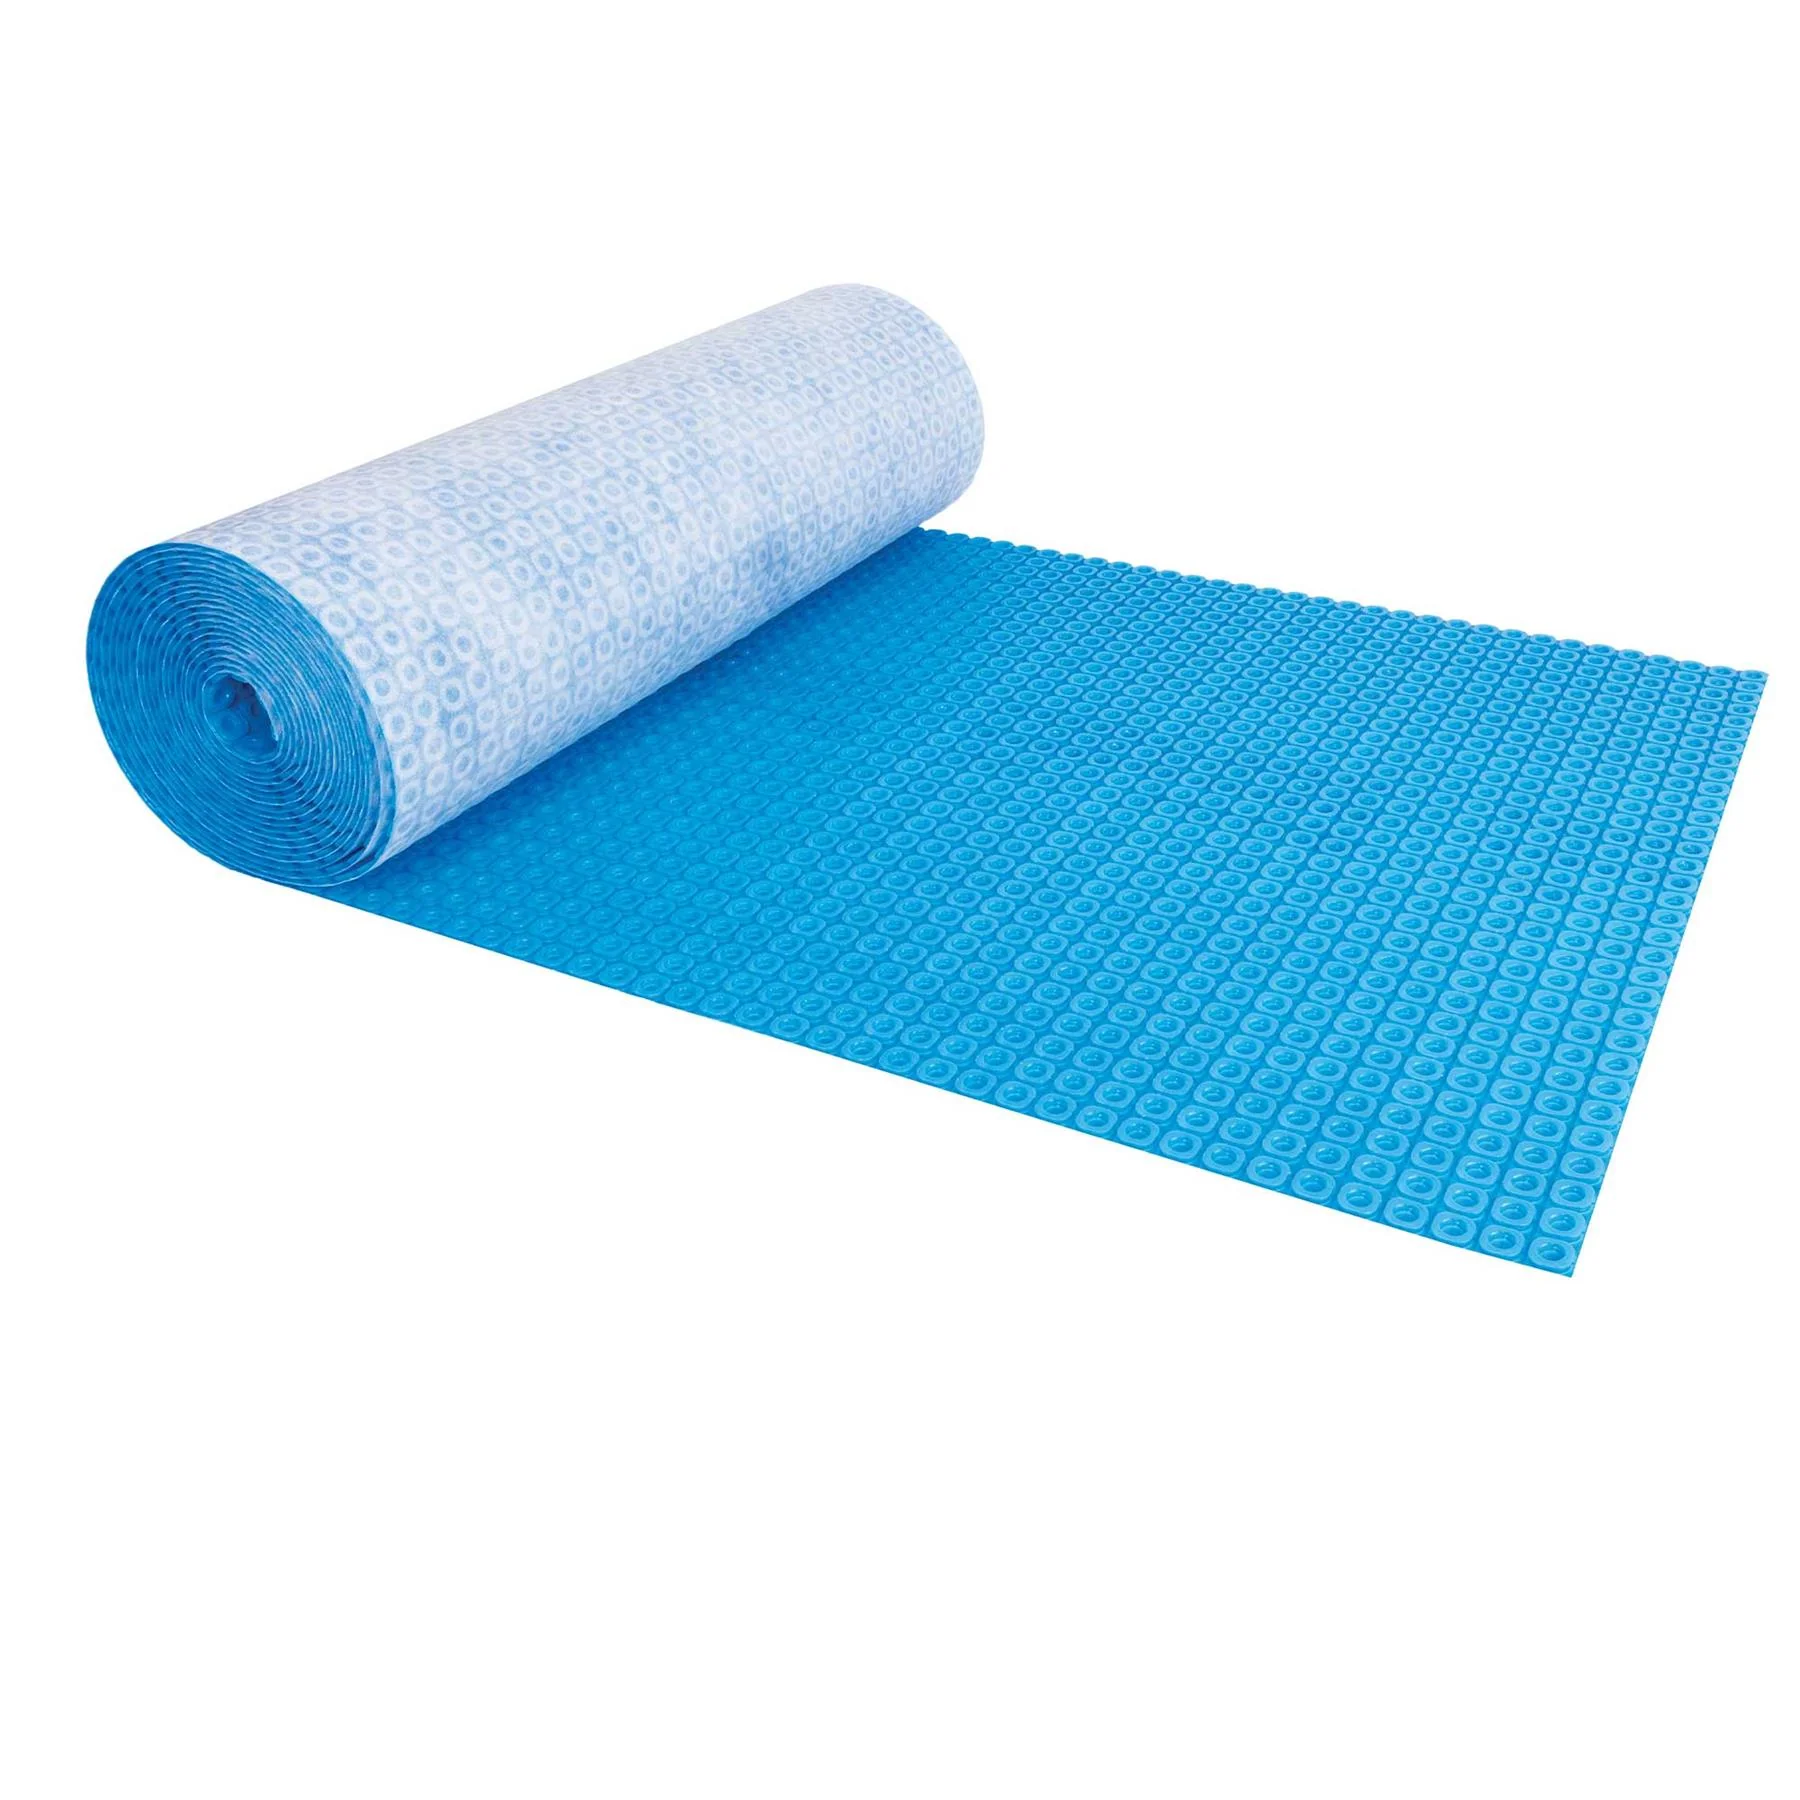
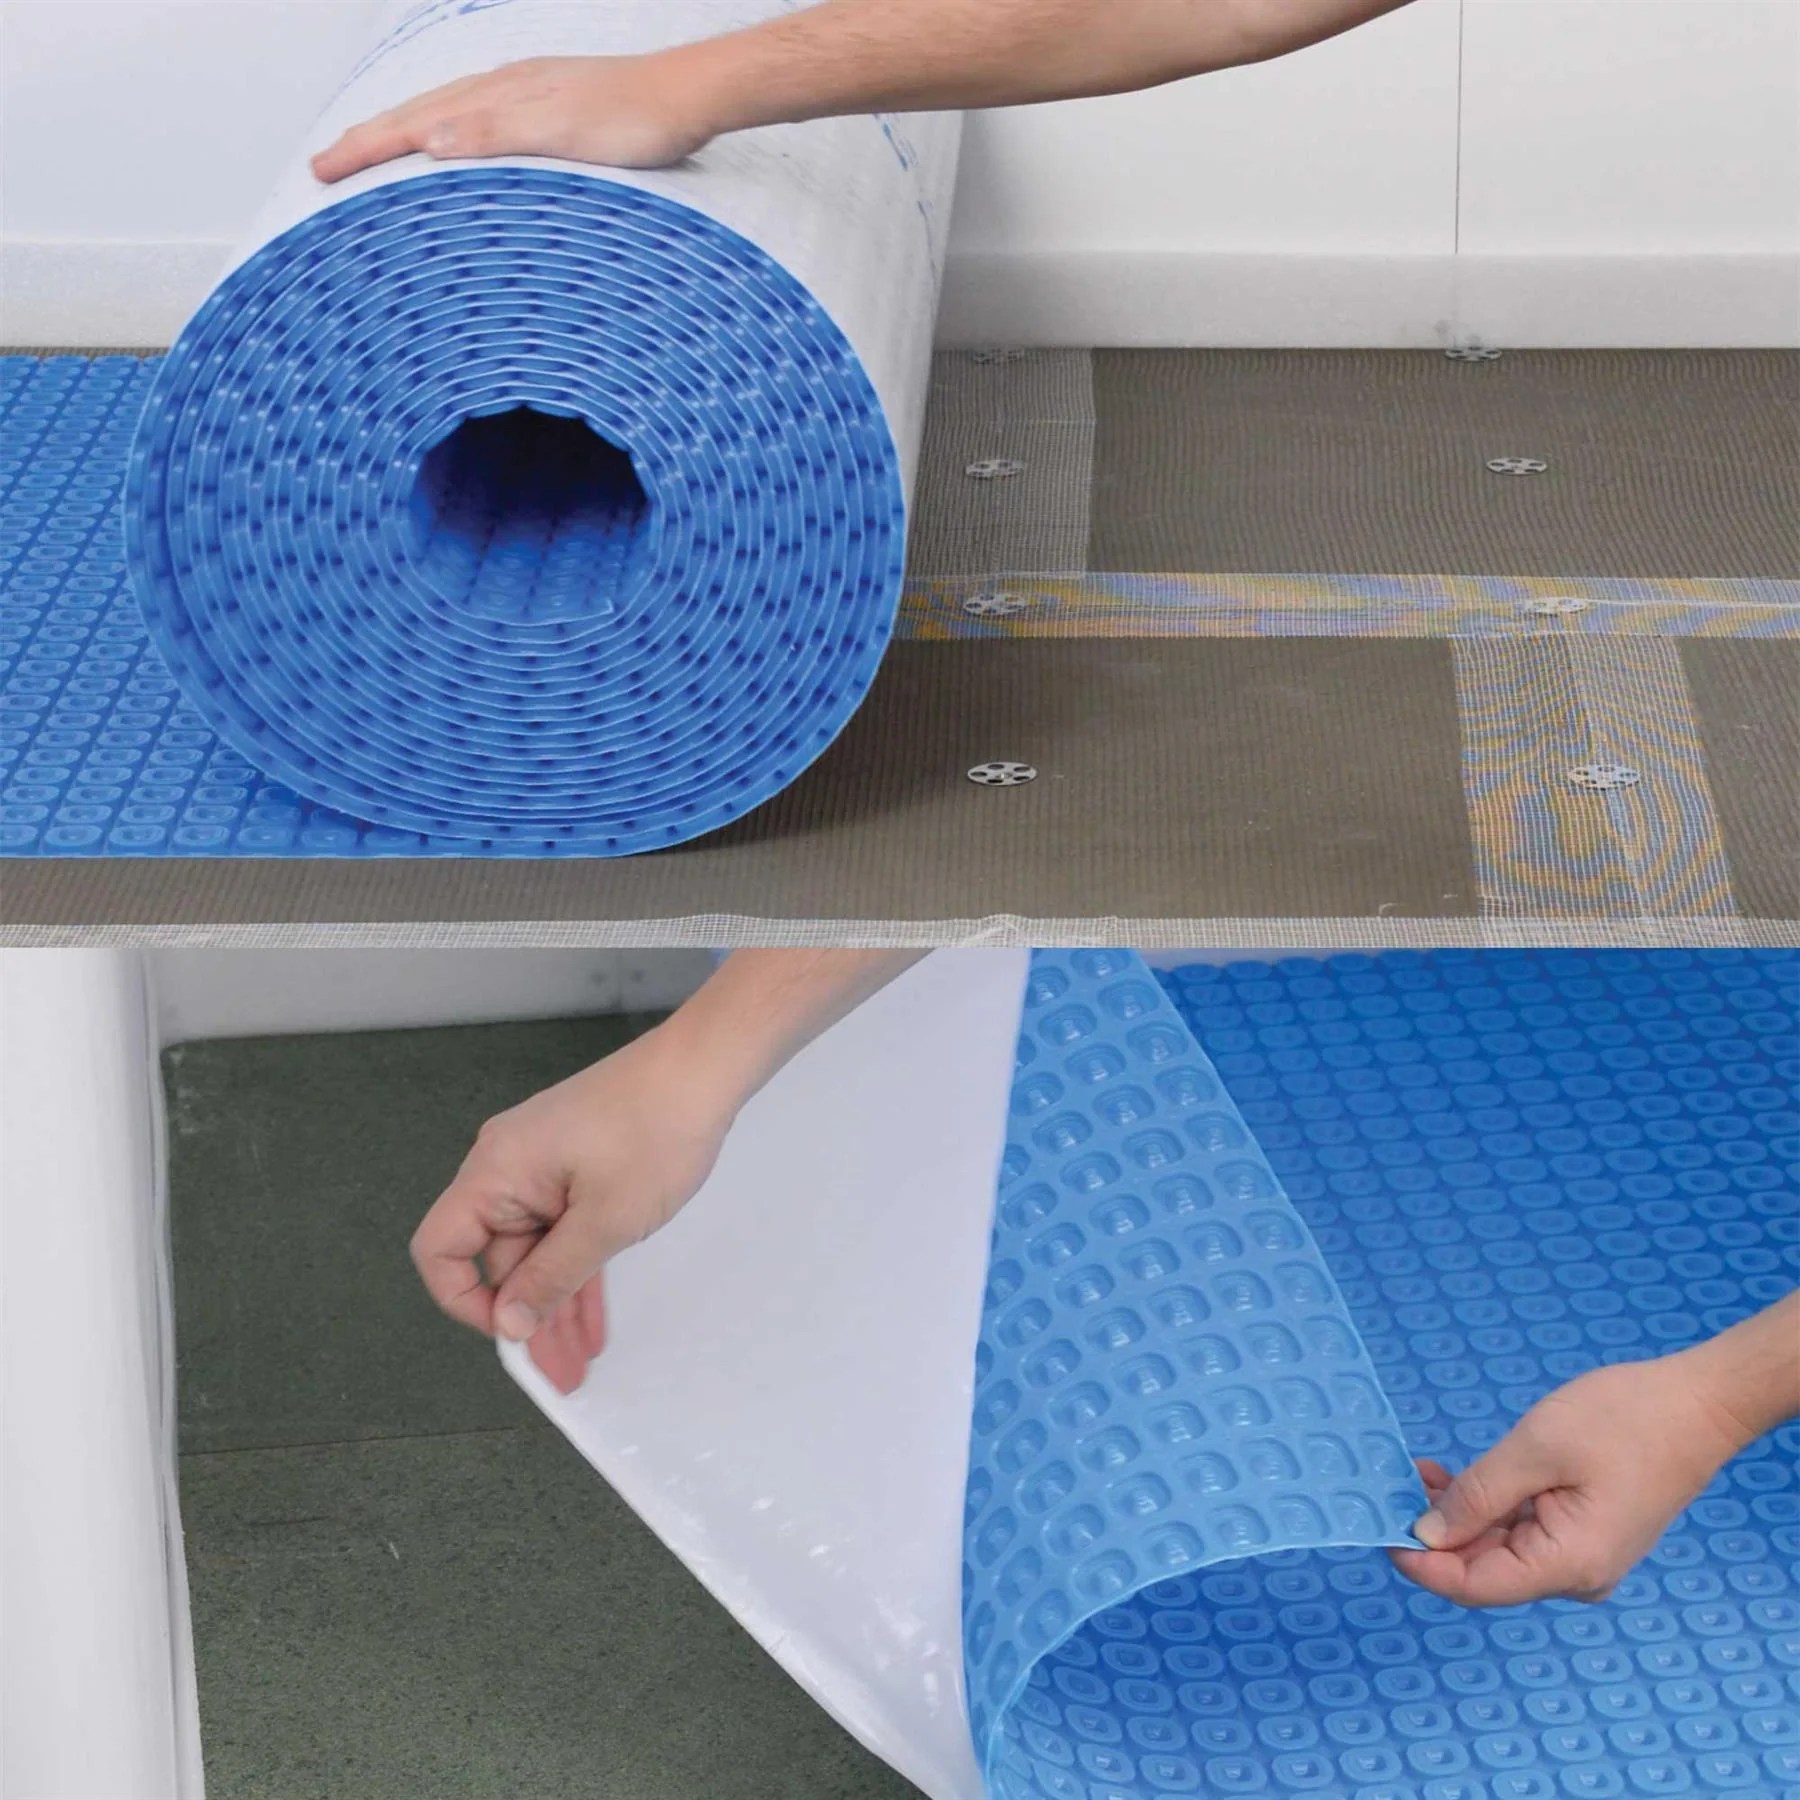
The mat's self-adhesive mesh backing bonds directly to primed subfloors, removing the need for staples — which the manufacturer prohibits, since a misplaced staple can pierce the heating element. This cuts fixing time significantly versus loose cable systems.
Earthed for Wet-Area Safety
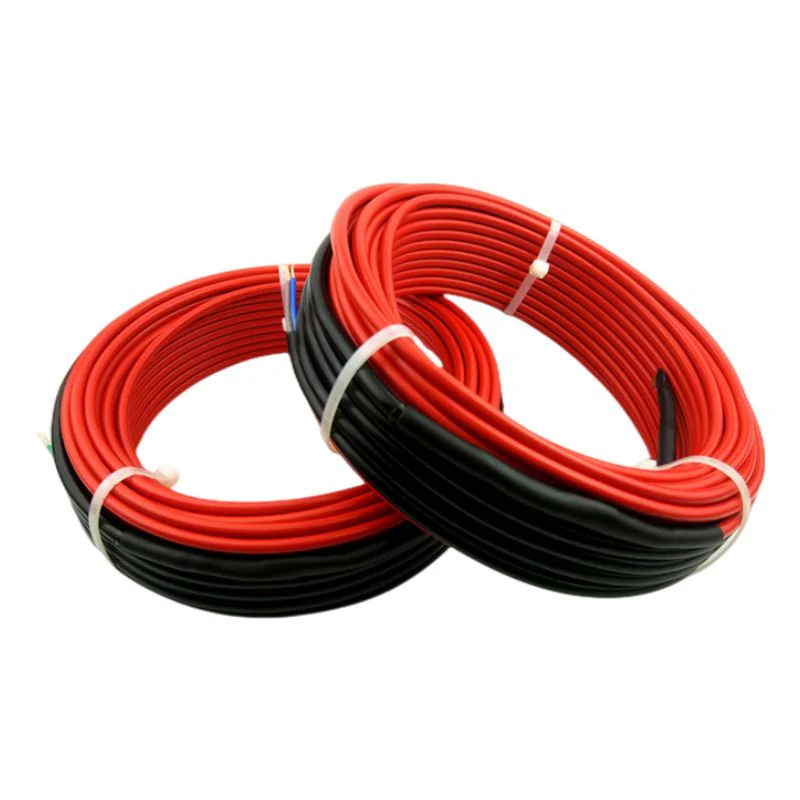
A continuous metallic earth screen runs the length of the twin-conductor cable, giving an extra layer of protection that supports safe use in bathrooms, wet rooms and kitchens when correctly RCD-protected.
Ultra-Slim Build-Up
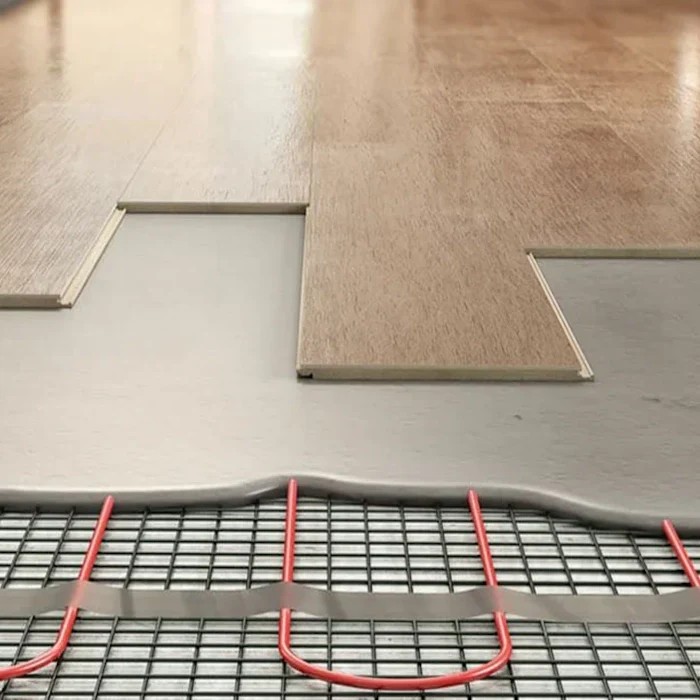
At roughly 3.0–4.0mm cable diameter, the mat adds minimal height beneath tile adhesive — ideal for refurbishments where raising the finished floor level isn't an option.
Single Cold-Tail Connection
One cold lead per mat simplifies the run back to the thermostat or junction box, reducing the number of joints and potential fault points compared with multi-cable systems.
Flexible Modular Layout
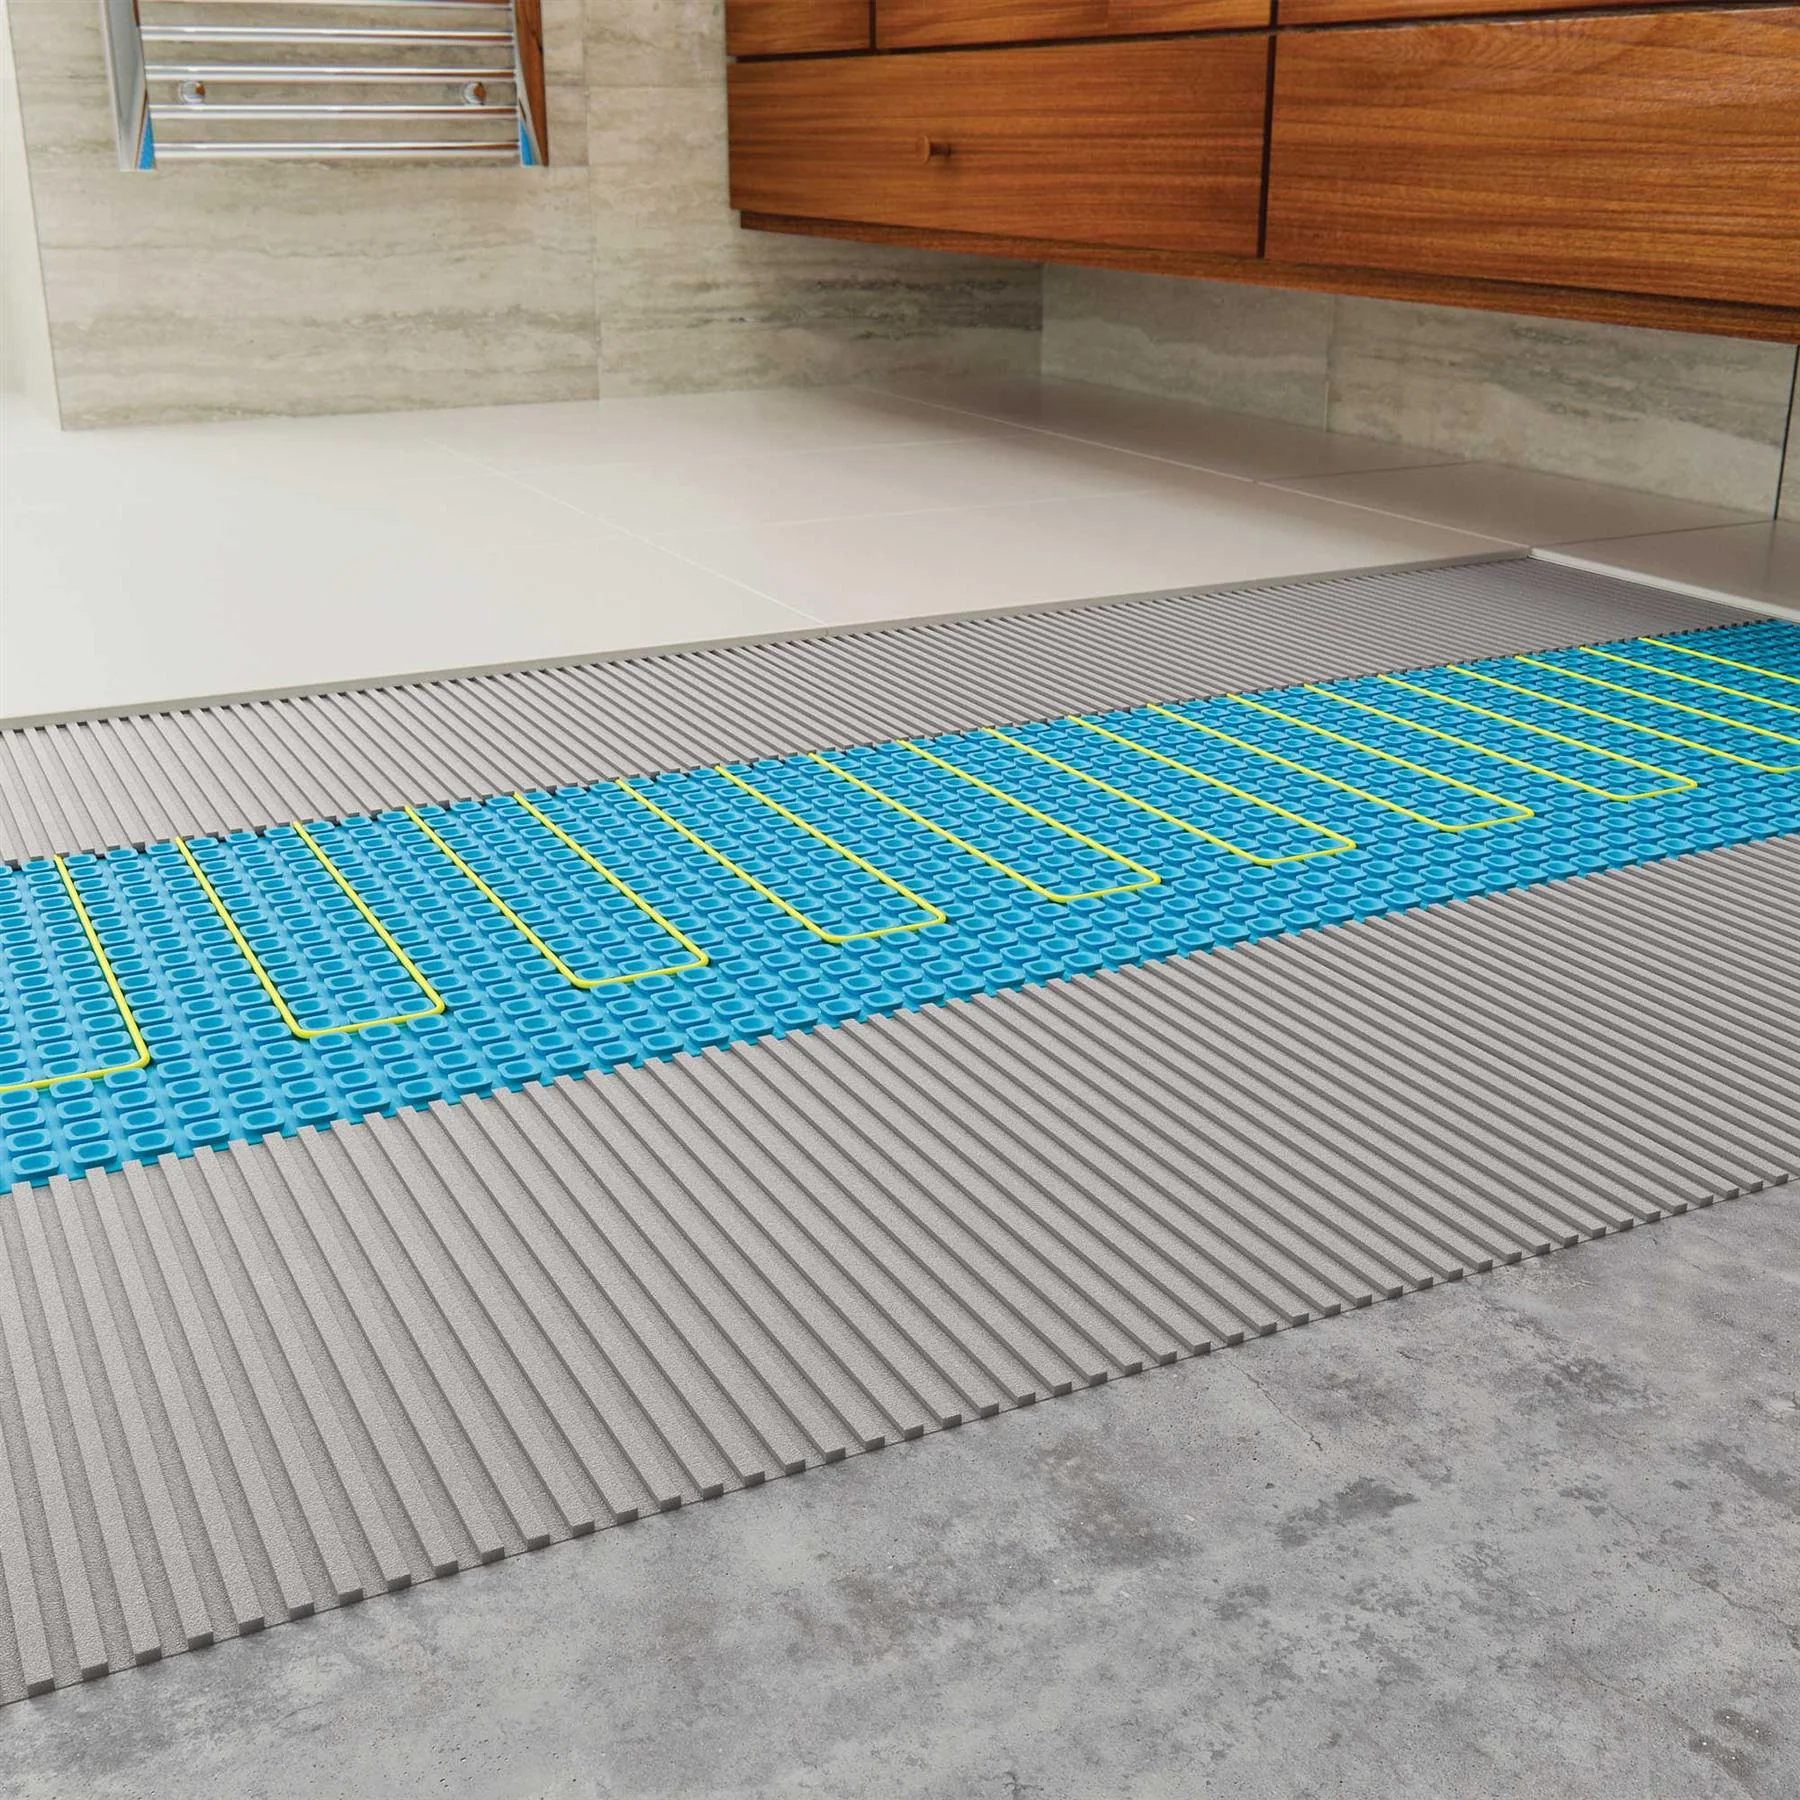
For areas over 10.0m², multiple mats are supplied and wired in parallel, letting the heated area follow an irregular room shape rather than being limited to one mat run.
Even, Cold-Spot-Free Heat
Consistent element spacing across the mesh backing spreads heat evenly across the floor, avoiding the hot and cold banding that can occur with hand-clipped loose cable.
| Area | Total Power | Mat Length | Current Draw |
|---|---|---|---|
| 1.0m² | 150W | 2.0m | 0.65A |
| 1.5m² | 225W | 3.0m | 1.0A |
| 2.0m² | 300W | 4.0m | 1.3A |
| 3.0m² | 450W | 6.0m | 1.9A |
| 4.0m² | 600W | 8.0m | 2.6A |
| 5.0m² | 750W | 10.0m | 3.3A |
| 6.0m² | 900W | 12.0m | 3.9A |
| 7.0m² | 1050W | 14.0m | 4.6A |
| 8.0m² | 1200W | 16.0m | 5.2A |
| 9.0m² | 1350W | 18.0m | 5.9A |
| 10.0m² | 1500W | 20.0m | 6.5A |
| 11.0m² | 1650W | 22.0m | 7.15A |
| 12.0m² | 1800W | 24.0m | 7.8A |
| 14.0m² | 2100W | 28.0m | 9.1A |
| 15.0m² | 2250W | 30.0m | 9.7A |
| 16.0m² | 2400W | 32.0m | 10.4A |
| 18.0m² | 2700W | 36.0m | 11.7A |
| 20.0m² | 3000W | 40.0m | 13.0A |
Product Information
Product Information
Shipping & Returns
Shipping & Returns
150W/m² Electric Underfloor Heating Peel & Stick Mats – Under Tile UFH Mat
150W/m² Electric Underfloor Heating Peel & Stick Mats – Under Tile UFH Mat
Warm your tiled or stone floor from the ground up with ThermRite™ 150W/m² Electric Underfloor Heating Mats, an under-tile system built for bathrooms, kitchens and refurbishment projects where floor build-up is tight. Each mat uses a self-adhesive mesh backing for genuine peel-and-stick fixing, a single cold-tail connection for straightforward wiring, and a continuous metallic earth screen for added protection under wet-area flooring. Certified to EN60335-2-96 and compliant with the 18th Edition Wiring Regulations, the mat delivers even heat with no cold spots beneath ceramic, stone, slate, terracotta, porcelain or marble, and is backed by a lifetime warranty.
150 W/m²
Power Output
230V
Supply Voltage
3.0–4.0mm
Cable Diameter
30mA RCD
Circuit Protection Required
Lifetime
Warranty
1.0–20.0m²
Sizes Available
🔴 Qualified Electrician & RCD Required
Installation must be wired to the mains by a qualified electrician in accordance with the 18th Edition IEE Wiring Regulations and Part P of the Building Regulations. The system must always be protected by a 30mA RCD — a dedicated RCD must be fitted if one does not already exist on the circuit.
🟡 Allow the Adhesive to Cure Before Power-On
Do not switch the heating on until a minimum of 8 days after tiling, to allow the tile adhesive or levelling compound to fully cure. Test the mat for continuity and insulation resistance before, during and after installation, and record results — the floor sensor should read 9–23 ohms depending on room temperature, with a ±5% tolerance allowed on the heating element resistance.
🟡 Larger Areas Use Multiple Mats — Parallel Wiring Only
Rooms above 10.0m² are supplied as more than one mat wired together. Mats must always be connected in parallel, never in series. The heating element itself must never be cut — only the fibreglass mesh carrier can be trimmed to turn or reposition the mat, and loose cable runs must be kept at least 50mm apart.
🟢 Floor Sensor Placement
The thermostat floor sensor must be run centrally between two heating cable runs, ideally inside a sealed sensor tube, so it reads an accurate average floor temperature. In bathrooms, mount the thermostat itself outside the wet area, as close to the heated floor as possible.
True Peel-and-Stick Fixing
The mat's self-adhesive mesh backing bonds directly to primed subfloors, removing the need for staples — which the manufacturer prohibits, since a misplaced staple can pierce the heating element. This cuts fixing time significantly versus loose cable systems.
Earthed for Wet-Area Safety
A continuous metallic earth screen runs the length of the twin-conductor cable, giving an extra layer of protection that supports safe use in bathrooms, wet rooms and kitchens when correctly RCD-protected.
Ultra-Slim Build-Up
At roughly 3.0–4.0mm cable diameter, the mat adds minimal height beneath tile adhesive — ideal for refurbishments where raising the finished floor level isn't an option.
Single Cold-Tail Connection
One cold lead per mat simplifies the run back to the thermostat or junction box, reducing the number of joints and potential fault points compared with multi-cable systems.
Flexible Modular Layout
For areas over 10.0m², multiple mats are supplied and wired in parallel, letting the heated area follow an irregular room shape rather than being limited to one mat run.
Even, Cold-Spot-Free Heat
Consistent element spacing across the mesh backing spreads heat evenly across the floor, avoiding the hot and cold banding that can occur with hand-clipped loose cable.
| Area | Total Power | Mat Length | Current Draw |
|---|---|---|---|
| 1.0m² | 150W | 2.0m | 0.65A |
| 1.5m² | 225W | 3.0m | 1.0A |
| 2.0m² | 300W | 4.0m | 1.3A |
| 3.0m² | 450W | 6.0m | 1.9A |
| 4.0m² | 600W | 8.0m | 2.6A |
| 5.0m² | 750W | 10.0m | 3.3A |
| 6.0m² | 900W | 12.0m | 3.9A |
| 7.0m² | 1050W | 14.0m | 4.6A |
| 8.0m² | 1200W | 16.0m | 5.2A |
| 9.0m² | 1350W | 18.0m | 5.9A |
| 10.0m² | 1500W | 20.0m | 6.5A |
| 11.0m² | 1650W | 22.0m | 7.15A |
| 12.0m² | 1800W | 24.0m | 7.8A |
| 14.0m² | 2100W | 28.0m | 9.1A |
| 15.0m² | 2250W | 30.0m | 9.7A |
| 16.0m² | 2400W | 32.0m | 10.4A |
| 18.0m² | 2700W | 36.0m | 11.7A |
| 20.0m² | 3000W | 40.0m | 13.0A |
Select Options
From $13.20
Original: $37.72
-65%150W/m² Electric Underfloor Heating Peel & Stick Mats – Under Tile UFH Mat—
$37.72
$13.20Product Information
Product Information
Shipping & Returns
Shipping & Returns
Description
Warm your tiled or stone floor from the ground up with ThermRite™ 150W/m² Electric Underfloor Heating Mats, an under-tile system built for bathrooms, kitchens and refurbishment projects where floor build-up is tight. Each mat uses a self-adhesive mesh backing for genuine peel-and-stick fixing, a single cold-tail connection for straightforward wiring, and a continuous metallic earth screen for added protection under wet-area flooring. Certified to EN60335-2-96 and compliant with the 18th Edition Wiring Regulations, the mat delivers even heat with no cold spots beneath ceramic, stone, slate, terracotta, porcelain or marble, and is backed by a lifetime warranty.
150 W/m²
Power Output
230V
Supply Voltage
3.0–4.0mm
Cable Diameter
30mA RCD
Circuit Protection Required
Lifetime
Warranty
1.0–20.0m²
Sizes Available
🔴 Qualified Electrician & RCD Required
Installation must be wired to the mains by a qualified electrician in accordance with the 18th Edition IEE Wiring Regulations and Part P of the Building Regulations. The system must always be protected by a 30mA RCD — a dedicated RCD must be fitted if one does not already exist on the circuit.
🟡 Allow the Adhesive to Cure Before Power-On
Do not switch the heating on until a minimum of 8 days after tiling, to allow the tile adhesive or levelling compound to fully cure. Test the mat for continuity and insulation resistance before, during and after installation, and record results — the floor sensor should read 9–23 ohms depending on room temperature, with a ±5% tolerance allowed on the heating element resistance.
🟡 Larger Areas Use Multiple Mats — Parallel Wiring Only
Rooms above 10.0m² are supplied as more than one mat wired together. Mats must always be connected in parallel, never in series. The heating element itself must never be cut — only the fibreglass mesh carrier can be trimmed to turn or reposition the mat, and loose cable runs must be kept at least 50mm apart.
🟢 Floor Sensor Placement
The thermostat floor sensor must be run centrally between two heating cable runs, ideally inside a sealed sensor tube, so it reads an accurate average floor temperature. In bathrooms, mount the thermostat itself outside the wet area, as close to the heated floor as possible.
True Peel-and-Stick Fixing
The mat's self-adhesive mesh backing bonds directly to primed subfloors, removing the need for staples — which the manufacturer prohibits, since a misplaced staple can pierce the heating element. This cuts fixing time significantly versus loose cable systems.
Earthed for Wet-Area Safety
A continuous metallic earth screen runs the length of the twin-conductor cable, giving an extra layer of protection that supports safe use in bathrooms, wet rooms and kitchens when correctly RCD-protected.
Ultra-Slim Build-Up
At roughly 3.0–4.0mm cable diameter, the mat adds minimal height beneath tile adhesive — ideal for refurbishments where raising the finished floor level isn't an option.
Single Cold-Tail Connection
One cold lead per mat simplifies the run back to the thermostat or junction box, reducing the number of joints and potential fault points compared with multi-cable systems.
Flexible Modular Layout
For areas over 10.0m², multiple mats are supplied and wired in parallel, letting the heated area follow an irregular room shape rather than being limited to one mat run.
Even, Cold-Spot-Free Heat
Consistent element spacing across the mesh backing spreads heat evenly across the floor, avoiding the hot and cold banding that can occur with hand-clipped loose cable.
| Area | Total Power | Mat Length | Current Draw |
|---|---|---|---|
| 1.0m² | 150W | 2.0m | 0.65A |
| 1.5m² | 225W | 3.0m | 1.0A |
| 2.0m² | 300W | 4.0m | 1.3A |
| 3.0m² | 450W | 6.0m | 1.9A |
| 4.0m² | 600W | 8.0m | 2.6A |
| 5.0m² | 750W | 10.0m | 3.3A |
| 6.0m² | 900W | 12.0m | 3.9A |
| 7.0m² | 1050W | 14.0m | 4.6A |
| 8.0m² | 1200W | 16.0m | 5.2A |
| 9.0m² | 1350W | 18.0m | 5.9A |
| 10.0m² | 1500W | 20.0m | 6.5A |
| 11.0m² | 1650W | 22.0m | 7.15A |
| 12.0m² | 1800W | 24.0m | 7.8A |
| 14.0m² | 2100W | 28.0m | 9.1A |
| 15.0m² | 2250W | 30.0m | 9.7A |
| 16.0m² | 2400W | 32.0m | 10.4A |
| 18.0m² | 2700W | 36.0m | 11.7A |
| 20.0m² | 3000W | 40.0m | 13.0A |